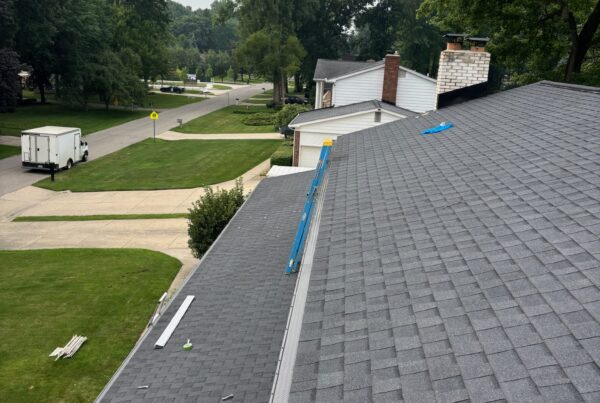
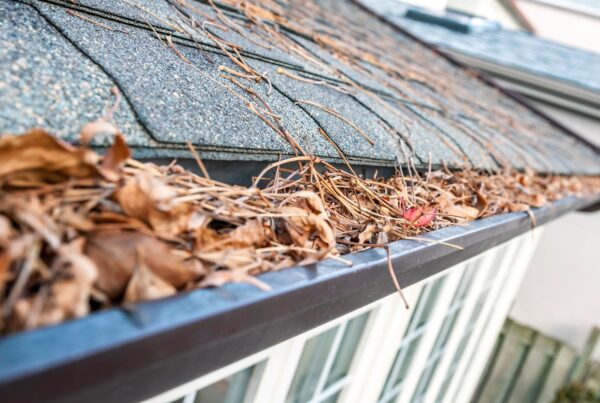
As the person behind J&A Exterior, I’ve seen my fair share of gutter issues, and leaks are among the most common. Not only can a leaking gutter cause water to misdirect, potentially damaging your home’s foundation and landscaping, but it can also lead to more significant gutter system damage if not addressed promptly. Luckily, fixing a gutter leak is often within the grasp of a handy homeowner. Here’s how you can tackle this task effectively, ensuring your gutters are in top shape.
Identify the Gutter Leak
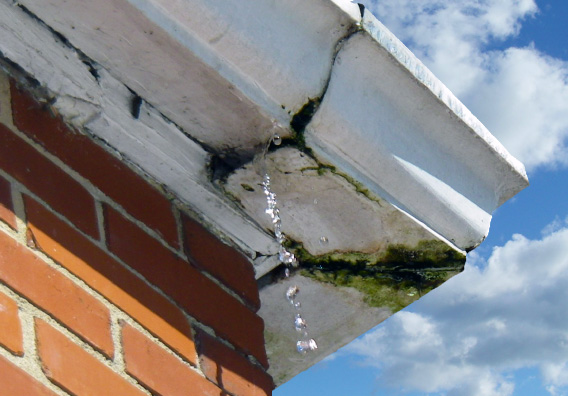
The first step in fixing a gutter leak is locating it. This might seem straightforward, but some leaks are more subtle than others. A clear sign of a leak is water dripping or significantly flowing from a place it shouldn’t, especially on a dry day. For less obvious leaks, checking during or after rain can help you identify where the problem lies.
You also want to look out for black/green mildew or debris built up on the gutter. If this is the case you may want to call a professional to come check it out because the aluminum is deuterating and this repair will not work.
Materials and Tools Needed : Fixing a Gutter Leak
Before you get started, ensure you have the following:
- Ladder (suitable for roof height)
- Gloves (rubber are best)
- Wire brush or coarse sandpaper
- Rag or cloth for cleaning (may need multiple)
- Gutter sealant (make sure it’s suitable for outdoor use and compatible with your gutter material)
Step 1: Safety First
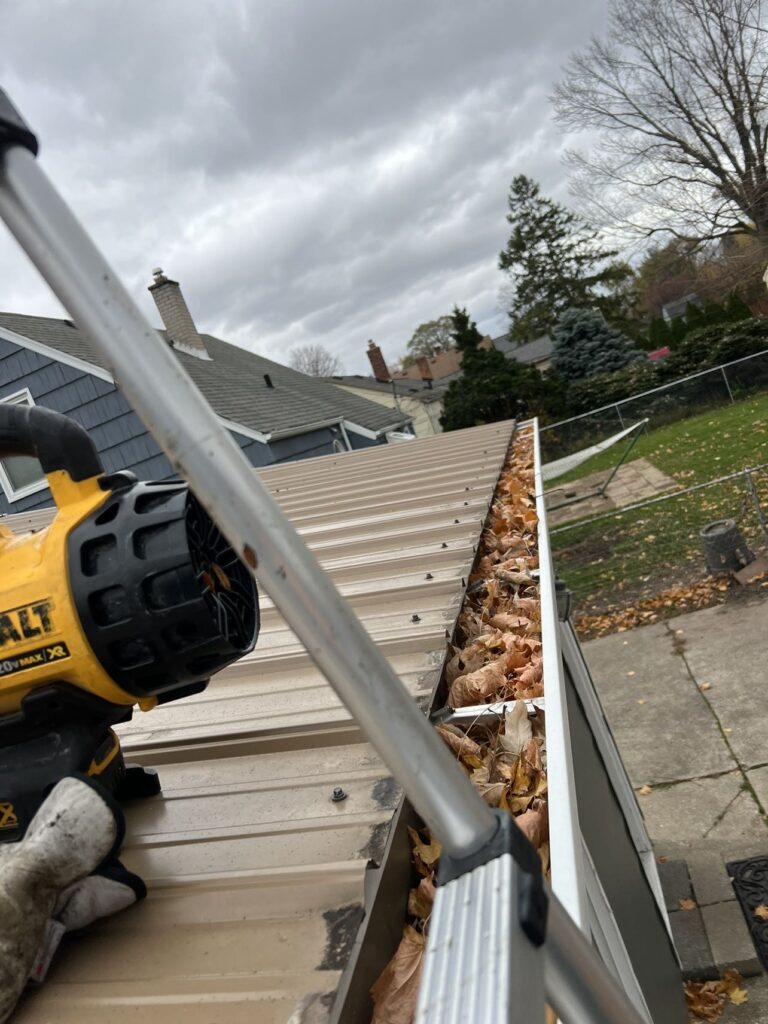
Always put safety first. Ensure your ladder is stable and ideally have someone with you when you’re working at height. Wear gloves to protect your hands from sharp edges within the gutter.
Step 2: Clean the Area
Before you can effectively seal any leaks, you need to clean the area around the leak thoroughly. Remove any debris from gutter, failing to do so will result in a bad seal. All water must be drained or dried out.
After the gutter is dry use your wire brush or sandpaper to get rid of rust or any flaking material around the leak. The goal is to provide a clean, smooth surface for the sealant to adhere to. It is also important to remove as much of the old sealant as possible from the gutter. This ensures water doesn’t just leak under the new seal.
Step 3: Apply Sealant to the Gutter Leak
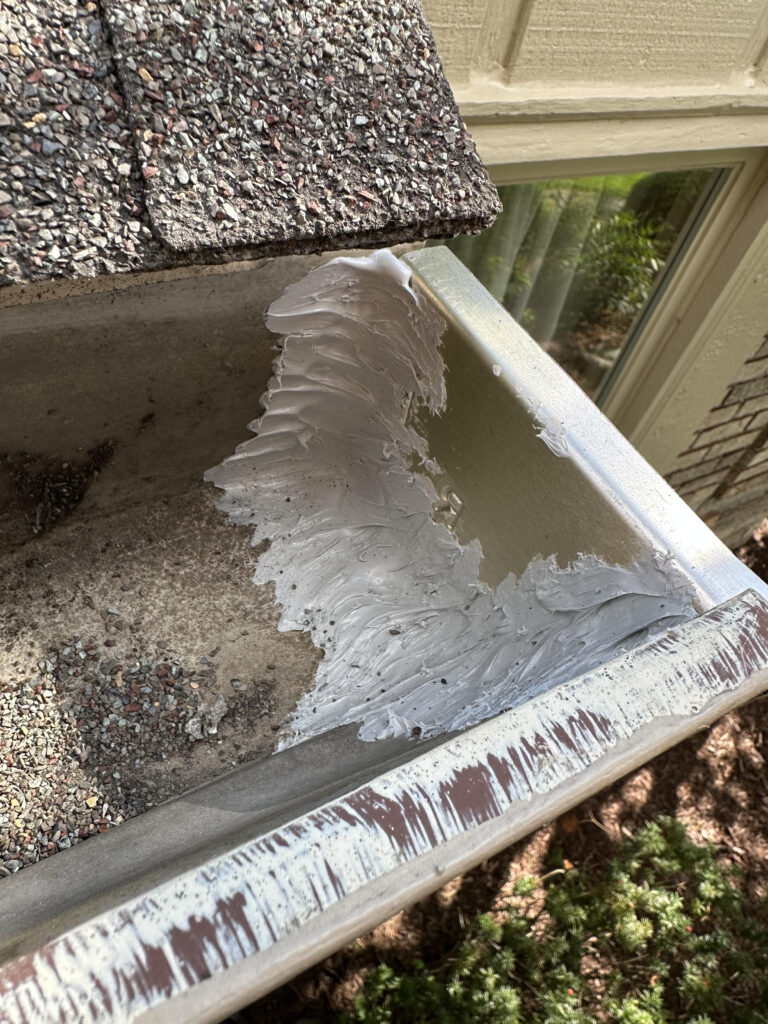
For small holes or cracks, gutter sealant is your best friend. Apply it generously over the leak and a bit beyond its edges. Its better to use more and be safe then sorry. Next spread the sealant with your finger (like in picture) to allow sealant to spread. Not doing so will result in water getting under the seal and still leaking
Step 4: Check for Other Issues
While you’re up there, it’s a good idea to inspect your gutters for any other potential issues, such as blockages, sagging sections, or additional leaks. Early detection can save you a lot of hassle down the line. you may also learn some more repairs when learning how to fix a gutter leak.
Let It Dry
Make sure you give the sealant enough time to dry, as per most manufacturer’s instructions. This usually means leaving it untouched for at least 24 hours, but it can vary depending on the product. If using a product like Geocell Gutter Sealant you can get away with only 2 hours of dry time.
Final Thoughts from J&A Exterior: How to fix a Gutter Leak
Learning how to fix a gutter leak can seem like a daunting task, but with the right tools and a bit of know-how, it’s something most homeowners can manage. Remember, regular gutter maintenance is key to preventing leaks and other issues. If however the repair your working with is to bad to reseal then feel free to reach out to a professional such as J&A Exterior. We will address all your gutters issues and provide you with the best solutions to move forward.
248-403-0281 – jnaguttercleaning@gmail.com

